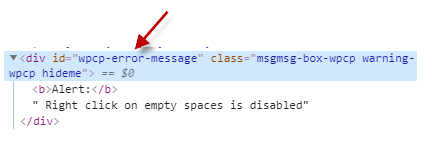
The alert message is located inside a div with id wpcp-error-message and class msgmsg-box-wpcp
You can add your new styling using message ID or message class
Using ID:
#wpcp-error-message {
//your CSS here
}
Using class:
.msgmsg-box-wpcp {
//your CSS here
}
We prefer using the message ID because it has more priority
Example:
Hide the alert yellow icon beside the message text:
#wpcp-error-message {
background-image: none !important;
}
In this example, we want to increase the message width to be 500 pixel
#wpcp-error-message {
width: 500px !important;
}
Change the font color:
#wpcp-error-message {
color: #1874e6 !important;
}
Change the background color:
#wpcp-error-message {
background: #8e8989 !important;
}
Change border size and border color:
#wpcp-error-message {
border: 2px solid #f2ffbf !important;
}
Change border radiuos or cancel it:
#wpcp-error-message {
border-radius: 1px !important;
Control the shadow:
#wpcp-error-message {
box-shadow: 0px 0px 54px 2px #4e3748 !important;
}
To stop the shadow use box-shadow: 0px;
Change the yello warning sympol:
#wpcp-error-message {
background: #ffecec url(‘Your new image url here‘) no-repeat 10px 50% !important;
}
etc..
Also, you can add all the changes together like this:
#wpcp-error-message {
width: 500px;
color: #1874e6;
background: #8e8989;
border: 2px solid #f2ffbf;
box-shadow: 0px 0px 54px 2px #4e3748;
}
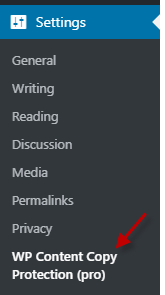
How to add the previous custom CSS inside the plugin?
Go to the plugin settings:
Open the CSS tab:

Add your custom CSS code inside the CSS text box:
Clear it and add your code inside like this
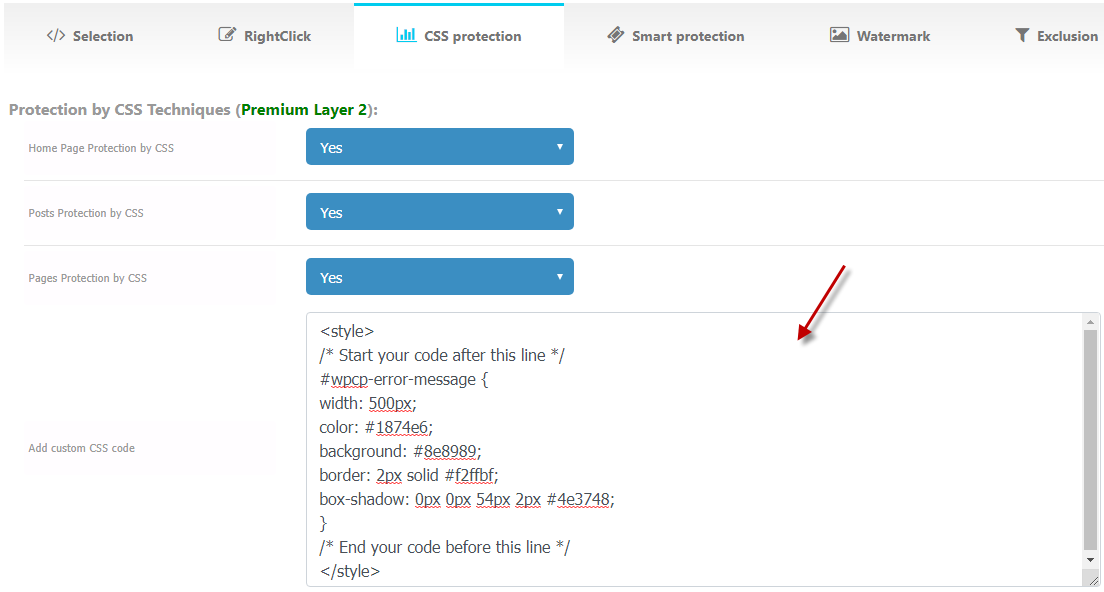
Click Save Settings:

Remember to make all your custom style located between the <Style> </style> tags
Like this:
<style>
/* Start your code after this line */
#wpcp-error-message {
width: 500px;
color: #1874e6;
background: #8e8989;
border: 2px solid #f2ffbf;
box-shadow: 0px 0px 54px 2px #4e3748;
}
/* End your code before this line */
</style>
To add any CSS just find it on any CSS help website and add it, also its better to call your developer to make this for you